Quick Links / Quick Downloads
- Runpod.io
- Find Your Celebrity Look-a-like
- Python Image Captioning Script
- Koyha SS Preset File
- If Running Locally:
Do you hate the idea of spending a fortune on professional headshots? Want to create your own stunning portraits leveraging the power of AI? Today, you’re in luck! In this comprehensive guide, you’ll learn AI model training for headshots using SDXL with your own face, harnessing the capabilities of AI without breaking the bank.
Why Use AI for Professional Headshots?
Professional photographers and design services can cost anywhere from $25 to $155, or more. However, with advancements in artificial intelligence, you can create a high-quality headshot by training a model with your own images. If you have a decent computer or access to cloud resources, you could complete this task for less than a dollar.
Getting Started: What You’ll Need
- High-quality images of yourself.
- MS Paint or a similar image editing software.
- RunPod.io account or a powerful local machine.
- A little patience and creativity.
Step-by-Step Guide to Training Your Model
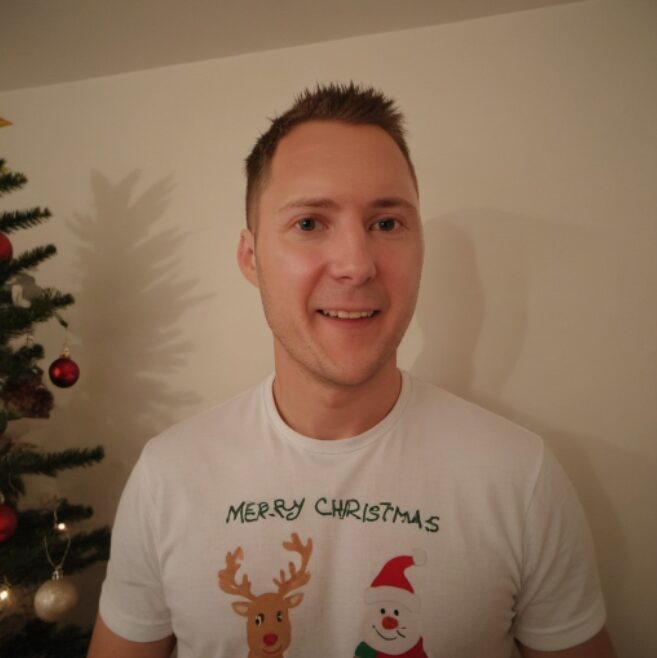
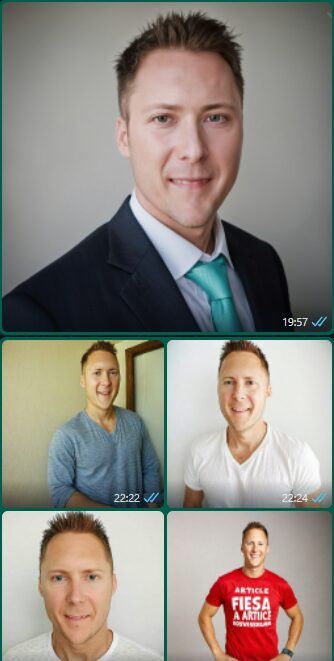
Step 1: Gather Your Images
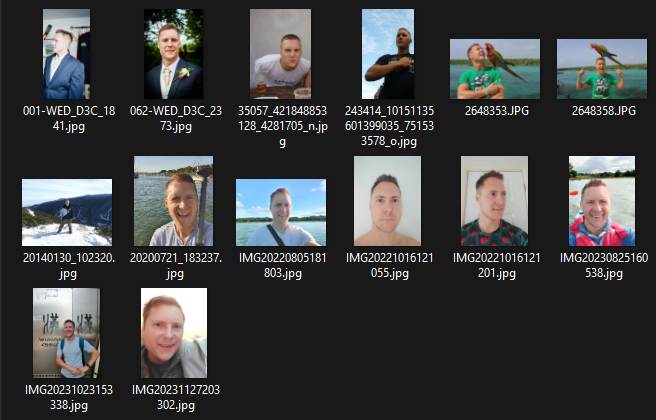
Start by selecting several high-quality images of yourself. It’s crucial to have a diverse set that includes various angles and expressions. Remove any unwanted elements from the photos through cropping.
Step 2: Edit Your Images
Use a simple tool like MS Paint to edit the images. Exclude any additional subjects from the photos and adjust them to focus solely on the desired subject – you! Delete any that aren’t high quality or have things obscuring your face (such as sunglasses)
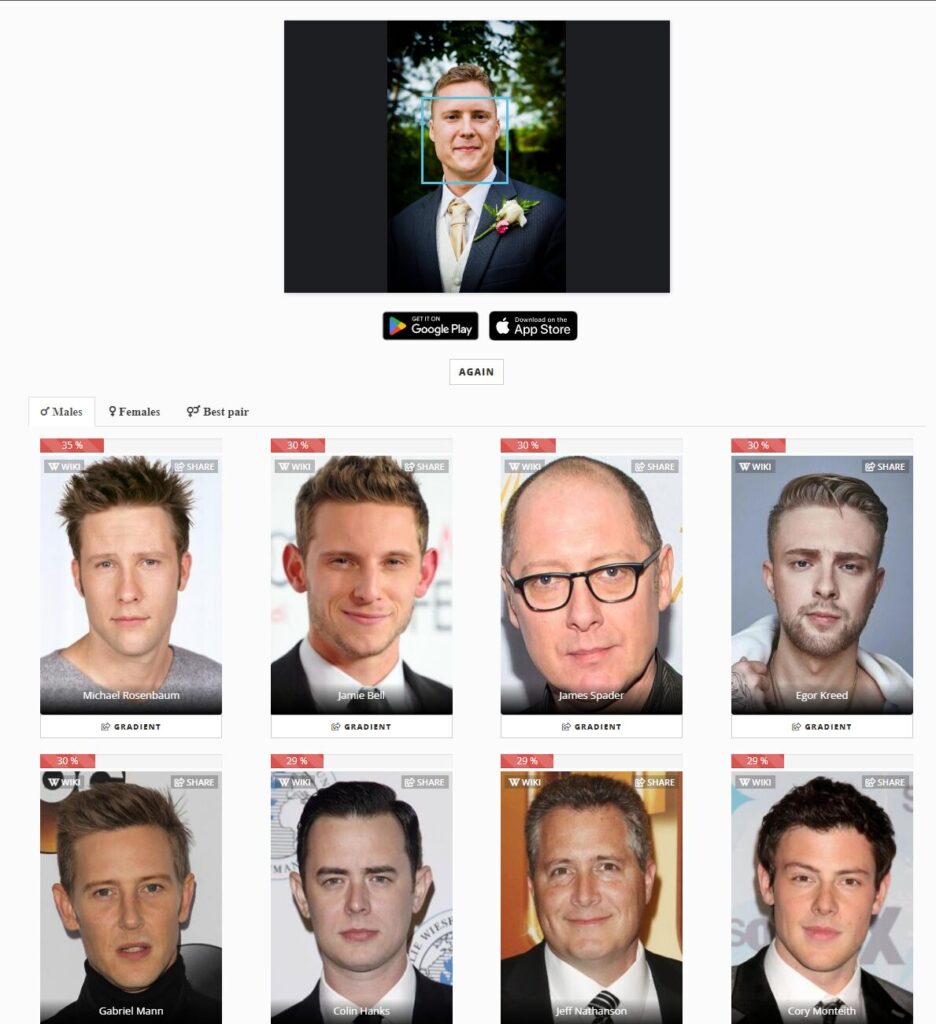
Step 3: Identify Your Celebrity Look-Alike
Utilize a service such as StarByFace to find a celebrity that resembles you. This step will help the AI model understand the look you’re aiming for, making the training process more efficient. It’s much easier to “improve” the training of a model based on something that’s in its knowledge base already rather than training from scratch. Think if someone tells you about an ‘WzzzYi’. You have no idea what that is, but if you are then told its similar to an BMW car, you instantly have something in your mind to base your predictions from, AI works in the same way.
Step 4: Caption Your Images
Describing each image effectively is essential for training the AI. Use tools like GPT Vision to generate descriptive captions or write them manually, focusing on details like posture, clothing, and surroundings. Here’s an example of a caption we could use, try to be as descriptive as possible.
man sitting at an outdoor table, short hair, white t-shirt, beer glass on table, daytime, casual setting, neutral expression, textured wall background, close-up shot
Here is the python script I use in the video to quickly generate captions for all the images, you don’t need to use this, but it can save you time:
import os
import base64
import requests

# OpenAI API Key
api_key = "sk-SET_ME_WITH_YOUR_API_KEY"


# Function to encode the image
def encode_image(image_path):
    with open(image_path, "rb") as image_file:
        return base64.b64encode(image_file.read()).decode("utf-8")


def caption_image(image_path):
    # Getting the base64 string
    base64_image = encode_image(image_path)
    headers = {"Content-Type": "application/json", "Authorization": f"Bearer {api_key}"}
    payload = {
        "model": "gpt-4-vision-preview",
        "messages": [

            {
                "role": "user",
                "content": [
                    {
                        "type": "text",
                        "text": "I want to create a similar image to this using SDXL (stable diffusion), what description should I use? Reply with only input I would need, separating with commas.",
                    },
                    {
                        "type": "image_url",
                        "image_url": {"url": f"data:image/jpeg;base64,{base64_image}"},
                    },
                ],
            }
        ],
        "max_tokens": 300,
        "temperature": 0,
    }
    response = requests.post(
        "https://api.openai.com/v1/chat/completions", headers=headers, json=payload
    )

    response_json = response.json()
    if "error" in response_json:
        print("Error:", response_json["error"])
        return None

    result = response_json["choices"][0]["message"]["content"]
    print(result)
    return result


def main():
    # NOTE CHANGE THIS PATH TO WHERE YOUR IMAGES ARE
    folder_path = "C:\\kohya_ss\\caption_me\\me"
    all_images = os.listdir(folder_path)
    for image in all_images:
        if image.endswith(".txt"):
            continue
        print("Captioning", image)
        caption = caption_image(os.path.join(folder_path, image))
        if caption is None:
            continue
        with open(os.path.join(folder_path, f"{image}.txt"), "w") as f:
            f.write(caption)
    print("Done")


if __name__ == "__main__":
    main()
Step 5: Decide Between Local Training or Cloud Resources
Depending on your computer’s power, you can run the training locally or use a cloud service. For example, RunPod.io offers a cost-effective solution, providing you with virtual access to powerful hardware.
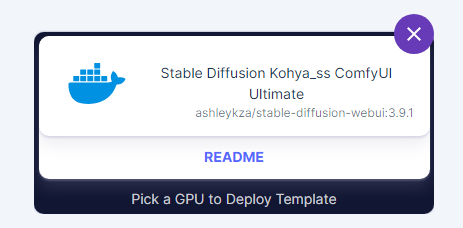
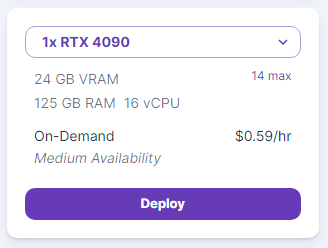
Step 6: Set Up Your Training Environment
On RunPod.io, you can set up an environment that includes a robust GPU and ample RAM to facilitate the AI training. Select the appropriate templates and deployment options based on your preference and budget.
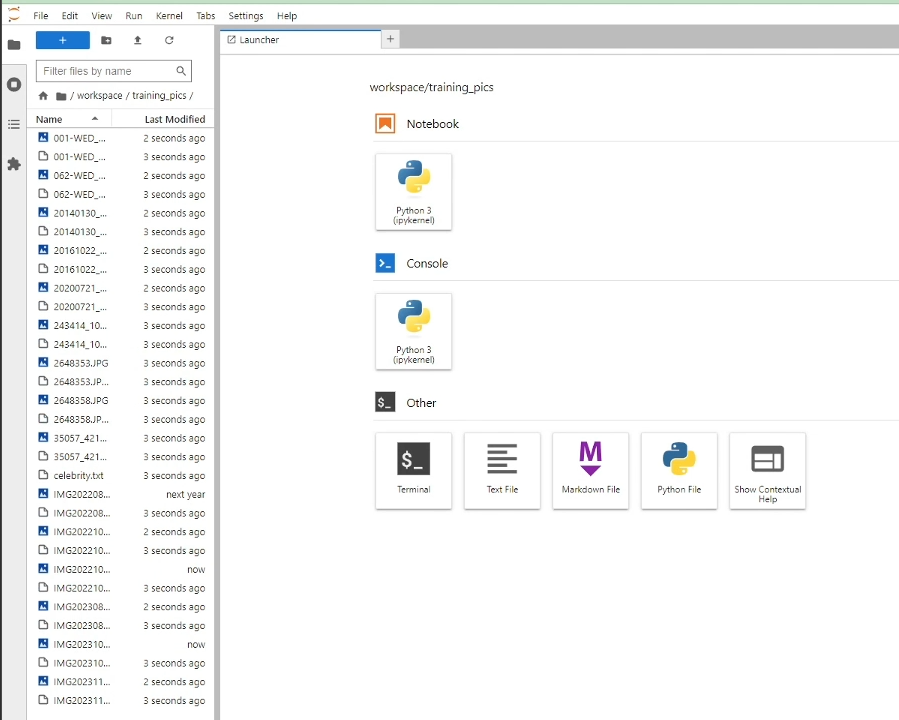
Step 7: Data Set Preparation
Upload your images to the training platform and specify your celebrity look-alike. You can use the Jupyter notebook to make this easier. This will create a tailored training set for your AI model. Ensure your chosen celebrity is featured within the stable diffusion model’s data for effective results.
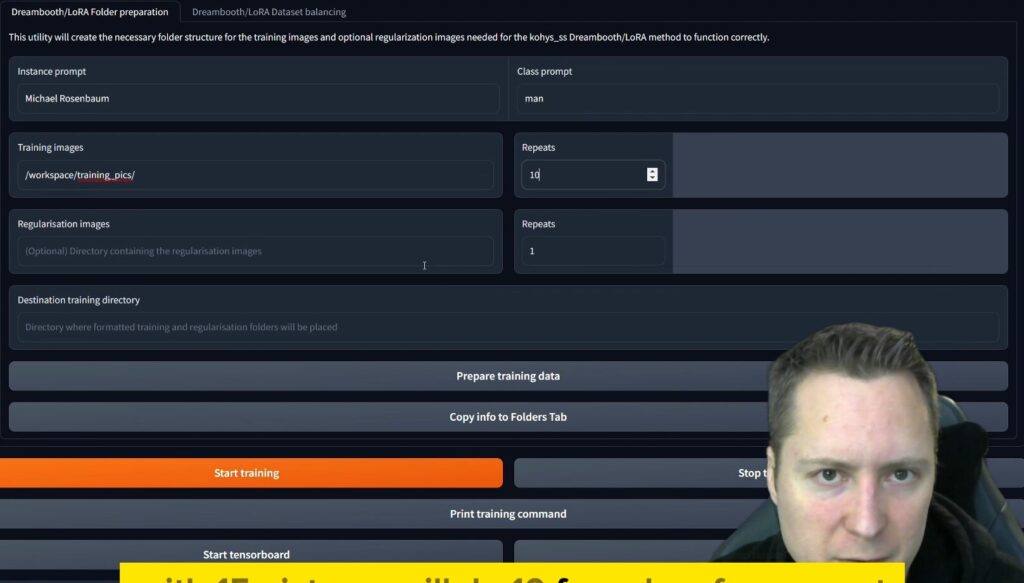
Step 8: Train Your Model
Using Koyha SS, first we want to set up our folders. Under the LORA tab, click on data preperation, in here we want to use our celebrity name and class name we found earlier:
After you’ve done this, use the preset file linked above and set up the folder structure. I go through this quite thoroughly in the video if you are struggling.
Everything should be mostly done for you thanks to that preset file. Then initiate the training process, monitor the progress (“tail -f /workspace/logs/koyha_ss.log” in Jupyter console tab), and adjust settings if necessary. By the end of this process, you should have a unique AI model that can generate professional headshots with your likeness.

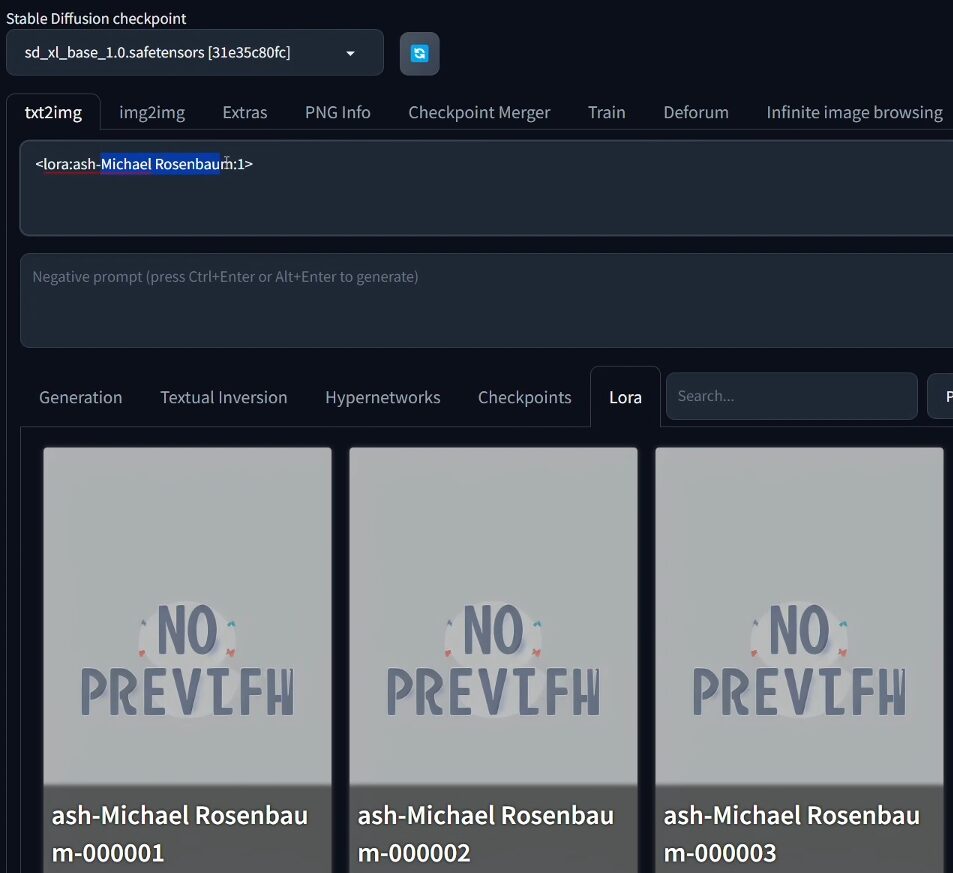
Now Use Your Model
Import the Lora into the Automatic 1111 Stable Diffusion GUI (it lives under stablediffusion-ui/models/Lora) and now you can include it in your generations. You’ll find any trained LORA’s you have under the LORA tab, although if you had none to begin with you may need to restart Automatic 1111 for it to pick up, annoyingly it has no refresh button unless it had 1 file in there to begin with.

Advantages of Using AI for Professional Headshots
- Cost-Effective: Tremendous savings compared to hiring professional services.
- Personalization: Greater control over how you want to be presented.
- Scalability: Ability to create multiple headshots without additional costs.
- Accessibility: Do it yourself, anytime, anywhere.
- Future-Proof: No need to worry about hardware being outdated; cloud services continuously upgrade their offerings.
Running Locally vs. Using Cloud Resources
If you prefer running the training locally, ensure your machine has the necessary specifications. Alternatively, cloud resources like RunPod.io offer great flexibility and often come pre-configured, saving you the hassle of setup.
Conclusion
Training an AI model to create your own professional headshots is both feasible and accessible. With a fraction of the cost and a bit of technical know-how, you can produce high-resolution images that fit your personal or professional needs. Whether you opt for local training or cloud resources, AI opens up a world of possibilities for personalized headshot creation. Give it a try, and you might just surprise yourself with the results!
With these steps, you’re ready to embark on a cost-saving adventure in AI-generated imagery. Unleash your creativity, learn more about AI, and step up your personal branding game all at the same time!